Circuit breaker repair requires a solid understanding of electrical safety protocols, proper diagnostic techniques, and replacement procedures for residential electrical systems. Homeowners often face tripped breakers that need resetting or faulty breakers requiring complete replacement. Any leading electrician in Santa Rosa, CA, will recommend specific tools and safety measures when handling electrical panels to prevent shock hazards and ensure code compliance.
What Circuit Breakers Actually Do (And Why They Break)
Think of circuit breakers as the security guards of your electrical system. They’re constantly monitoring current flow, ready to shut things down when something goes wrong. When the current exceeds the breaker’s amp rating, the internal mechanism trips automatically, cutting power to prevent wire overheating and potential fires.
Most residential panels contain thermal-magnetic breakers, though newer homes might have electronic versions. The thermal component responds to sustained overloads, while the magnetic part handles sudden surges from short circuits. Over time, these mechanisms can wear out from repeated tripping or simply age-related deterioration.
Understanding this function helps you troubleshoot more effectively. A breaker that keeps tripping isn’t necessarily broken – it might be doing its job protecting an overloaded circuit.
Gathering Your Tools and Staying Safe
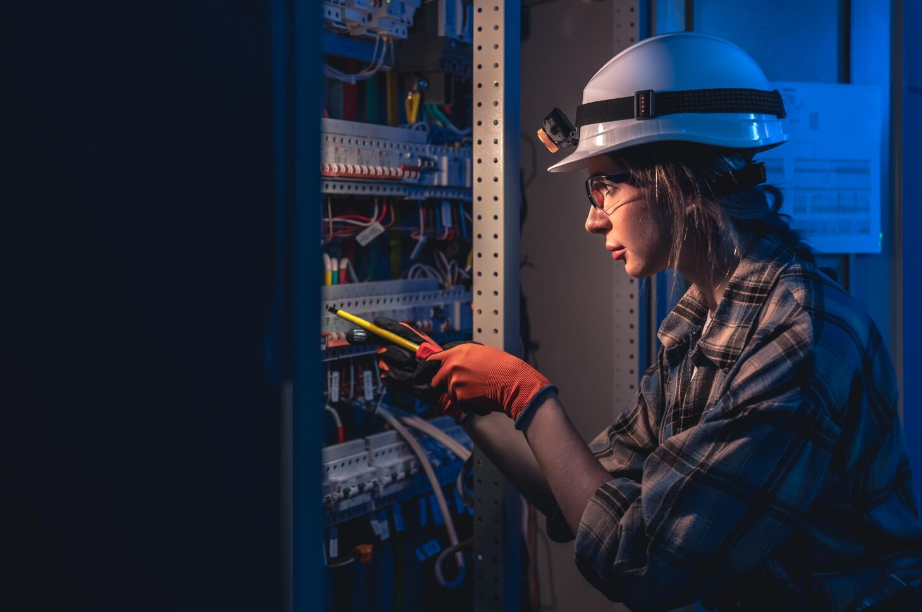
Before touching any electrical equipment, you’ll need the right equipment. A non-contact voltage tester tops the list, followed by insulated screwdrivers, wire strippers, needle-nose pliers, and a reliable flashlight. Having a multimeter handy makes testing continuity later easier.
Safety comes first, always. Turn off the main breaker before opening the panel – never assume a circuit is dead just because the individual breaker is off. Wear safety glasses and insulated gloves, even if they feel bulky. Work during daylight when possible, or use multiple light sources to eliminate shadows.
Keep one hand behind your back or in your pocket when working near energized components. This prevents creating a path for current across your chest. If something feels wrong or you’re unsure about any step, stop and call a licensed electrician.
Diagnosing Common Circuit Breaker Problems
Most circuit issues start with obvious signs. A tripped breaker sits in the middle position between “on” and “off,” sometimes marked with a red indicator. But not all problems are this straightforward.
Breakers that trip immediately after resetting usually indicate a short circuit somewhere in the wiring. This requires investigation beyond the panel itself. Check outlets and fixtures on that circuit for obvious damage, burning smells, or loose connections.
Warm breakers during normal operation suggest overloading. Count up the amp draw of everything on that circuit. A 15-amp breaker serving multiple outlets with high-draw appliances will struggle. Sometimes the solution is to redistribute loads rather than replace hardware.
Breakers that won’t reset completely might have internal damage. They’ll feel loose or mushy rather than clicking firmly into place. These definitely need replacement.
Resetting Procedures That Actually Work
Here’s where most people mess up the reset process. Simply flipping a tripped breaker back to “on” often doesn’t work because it hasn’t fully disengaged internally.
Start by pushing the breaker handle firmly to the “off” position until you hear or feel a click. This resets the internal mechanism completely. Then flip it back to “on” with a deliberate motion. The handle should sit flush with the other breakers and feel solid.
If it trips again immediately, you’ve got a persistent fault. Disconnect everything from that circuit and try again. Success means the problem lies with connected devices or fixtures. Gradual reconnection helps identify the culprit.
Breakers that won’t stay reset need professional attention. Don’t keep forcing them – repeated attempts can damage the internal contacts permanently.
Replacing a Faulty Breaker Step-by-Step
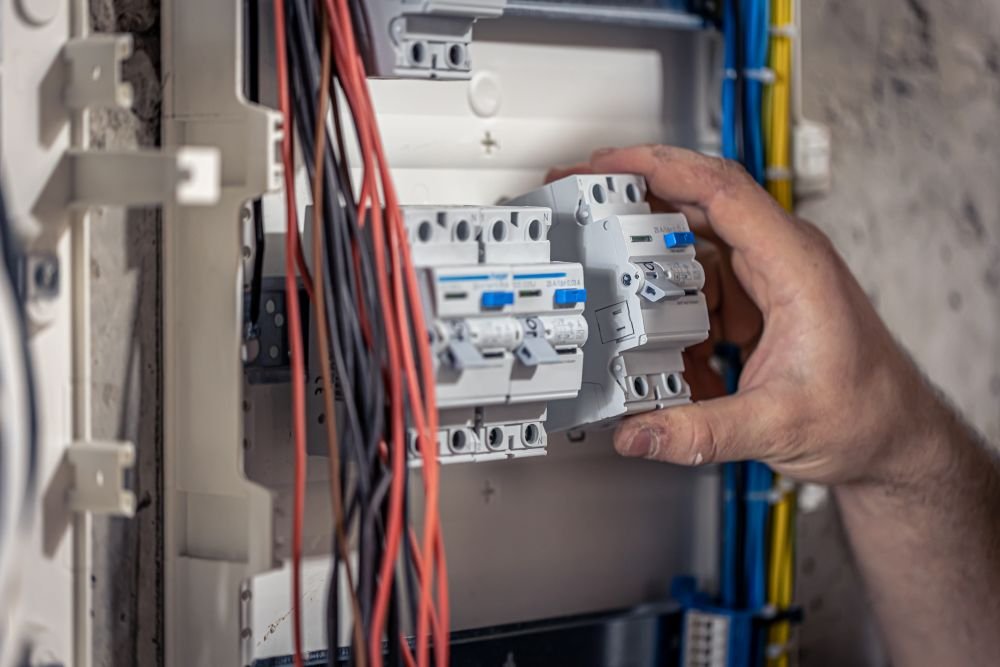
Sometimes repair means replacement. After confirming that power is off to the entire panel, carefully remove the cover plate. Note which wire connects to your problem breaker before disconnecting anything.
Loosen the terminal screw and gently pull the wire free. Grasp the breaker by its sides and rock it slightly while pulling straight out. Different manufacturers use different mounting systems, but most snap or slide into place.
Installing the new breaker reverses this process. Align it properly with the bus bar, then push firmly until it seats completely. Reconnect the wire to the load terminal and tighten the screw snugly without over-torquing.
Double-check that your new breaker matches the amp rating of the old one exactly. Using a higher-rated breaker doesn’t provide extra protection – it actually creates a fire hazard by allowing dangerous overloads.
Testing Your Repair Work
Proper testing confirms your repair actually worked. Start by checking continuity with your multimeter. With the breaker on, you should see near-zero resistance between the terminals.
Next comes the functional test. Turn the main breaker back on and test your repaired circuit with a small load first. A lamp or phone charger works perfectly. If that operates normally, gradually add typical loads for that circuit.
The real test involves confirming the breaker still trips when it should. This requires creating a controlled overload, which, honestly, is best left to electricians with proper testing equipment. For DIY repairs, normal operation under typical loads provides reasonable confidence.
Keep an eye on your repair over the following weeks. Breakers that get warm during normal use or develop burnt odors need immediate professional attention. Successful repairs should operate silently and stay cool to the touch.
Contact Us
Have a question or need a quote? We’d love to hear from you!
You can reach B. Henry’s Quality Electric Inc. by phone at (707) 774-2112 for fast, friendly service and scheduling. Our office is located at 1824 Honeysuckle Dr, Santa Rosa, CA 95404, and we serve residential, commercial, and industrial clients throughout Sonoma and Marin counties.
Related Topics: