Fixing a ceiling fan yourself can save money, but safety has to come first. This guide walks you through the steps to safely repair your fan. From shutting off the power to testing the finished repair, we cover everything you need to know. A trusted electrician can handle complex jobs, but many ceiling fan issues are simple enough to fix on your own. Below, you’ll find tips on troubleshooting, checking connections, balancing blades, and replacing worn parts.
Safety Precautions
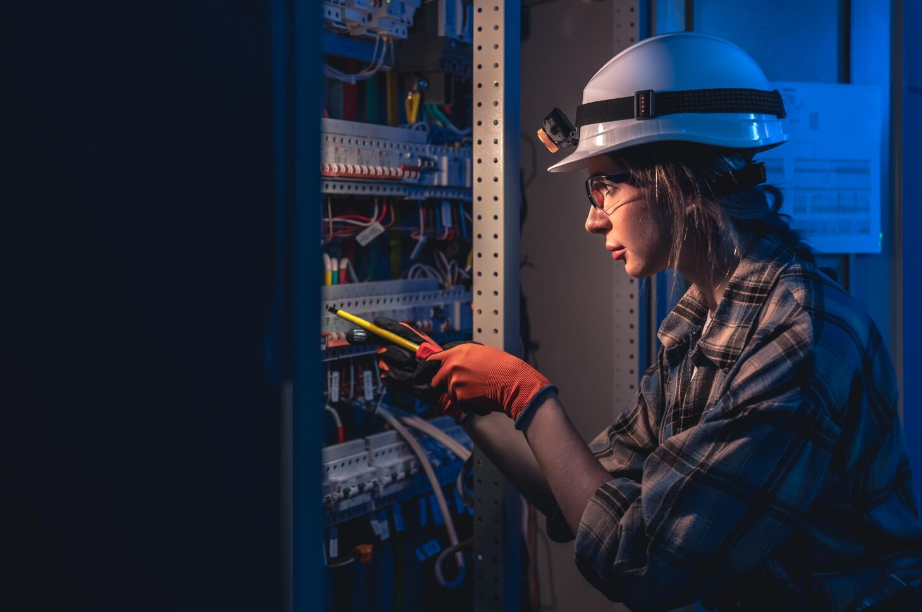
Before starting any repair work on a ceiling fan, take the right safety steps to avoid accidents or injuries. Turn off the fan’s power at the circuit breaker to prevent electrical shock. Use a voltage tester to confirm no power is running to the fan. Gather your tools: a sturdy ladder, insulated gloves, and safety goggles will protect you during the repair. Always follow the manufacturer’s instructions and don’t overreach while on the ladder. Tuck in any loose clothing and remove jewelry that could get caught in the fan blades. Putting safety first lets you complete the repair without any problems.
Troubleshooting Common Issues
When troubleshooting a ceiling fan, start by checking if it’s getting power. Make sure the wall switch is on and the circuit breaker hasn’t tripped. If the fan has power but still won’t work, check the blades for anything that might be blocking them. Dust buildup or a loose blade could be causing the problem. Check the mounting bracket and screws for any looseness. A wobbling fan often comes from an unbalanced blade set. Going through these components one by one helps you find and fix common ceiling fan problems quickly.
Checking Electrical Connections
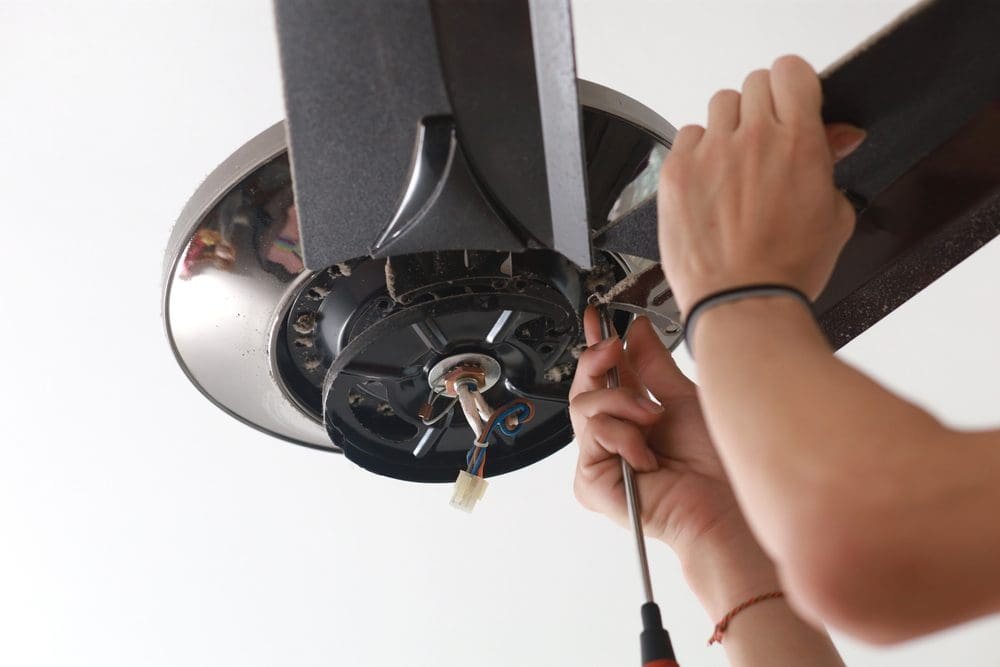
Check the wiring connections to ensure they’re secure and show no signs of wear or damage. Start by turning off the power at the circuit breaker to stay safe. Carefully remove the fan’s canopy to access the wiring. Check each connection to confirm it’s tight and lined up correctly according to the manufacturer’s instructions. Look for frayed wires, loose connections, or burnt spots that could signal a problem. If you find any issues, replace damaged wires or connectors right away. Once all connections look good, put the fan back together and restore power to test it. Always put safety first when dealing with electrical parts.
Balancing the Fan Blades
Balancing the fan blades keeps your ceiling fan running smoothly and reduces noise. Unbalanced blades cause wobbling, which wears out the motor and mounting hardware faster. To balance the blades, start by cleaning them to remove dust and debris. Use a blade-balancing kit or a yardstick to identify which blades are out of balance. Attach weights to the top of the blades and spread them evenly. Turn the fan on low speed and watch for any wobbling. Adjust the weights until the fan runs without shaking. Regularly checking and balancing your fan blades will help them last longer.
Replacing Worn-out Parts
Regular inspection helps you catch worn or damaged parts before they become a bigger problem. Common parts that may need replacement include the fan blades, motor, pull-chain switches, capacitor, and bearings. Cracked or warped blades, unusual motor noises, or excessive wobbling all indicate parts that need to be swapped out. If the fan operates inconsistently, won’t start smoothly, or gives off a burning smell, replace the affected parts right away. Always turn off the fan’s power before inspecting or replacing anything to prevent accidents and keep the repair process safe.
Testing the Repaired Ceiling Fan
After finishing the repair, test the ceiling fan to confirm it runs safely and smoothly. Start by turning on the fan at the lowest speed setting. Watch to see if it starts without unusual noises or wobbling. Gradually increase the speed while checking for vibrations or imbalance. Make sure the fan blades rotate evenly and don’t hit anything. Use a flashlight to inspect the blade alignment. If your fan has a light kit, test that too. Check all switches and controls to confirm they work properly. Listen for any strange sounds that could mean more issues. If everything runs smoothly, you’ve successfully repaired your ceiling fan.
Related Topics: